
Deploy application In AWS
-
 Amrit Panta
- Aug. 5, 2023, 3:03 p.m.
In This Tutorial wee will learn how to deploy different application in VPs hosting with AWS seervices.
Deploy Django to Production Using NGINX Gunicorn and Supervisor on AWS
there are many steps need to follow for deployment of django application which are as follow:
1.Select Region
The first thing we need to do is to select Region where we want to set up our EC2 Machine , select one according to requirements

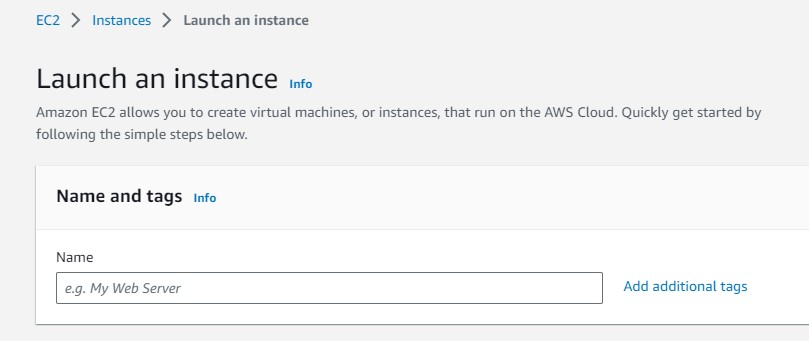
2.Now lunch an instance on AWS
Now Search EC2 on AWS. and Click on Launch Instance button to create a new EC2 instance.
Enter Name of instance......
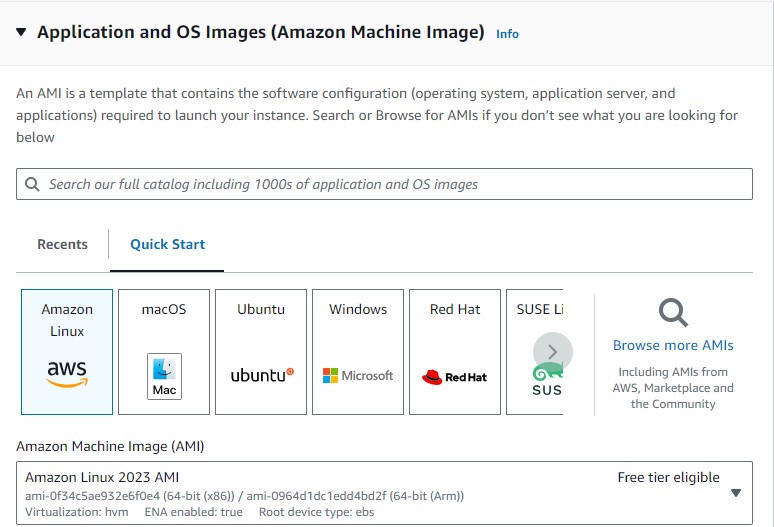
select an os of the instance
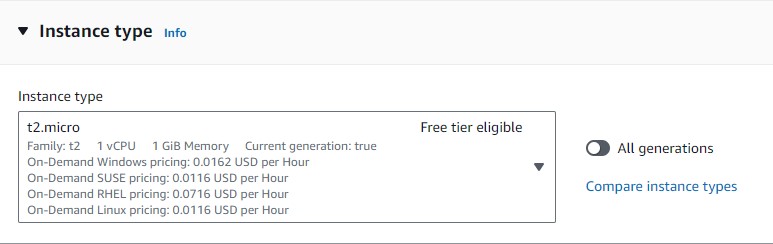
Select Instance type for instance
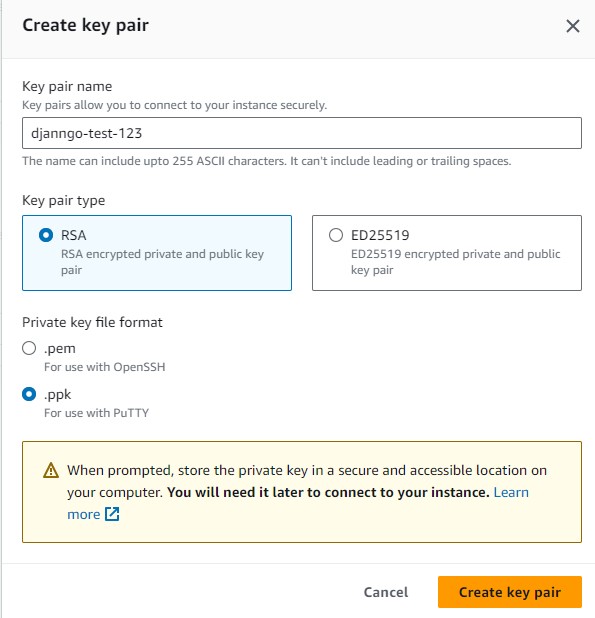
New create new key pair for instance on click on generate new key-pair
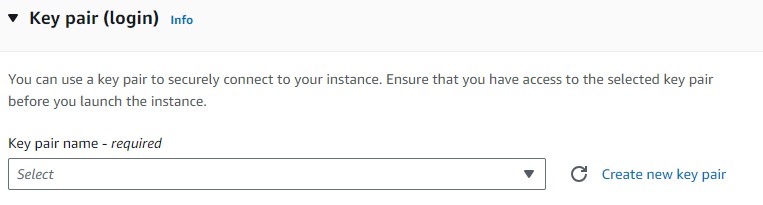
You can choose key-pair type and private key file formate according to requirements
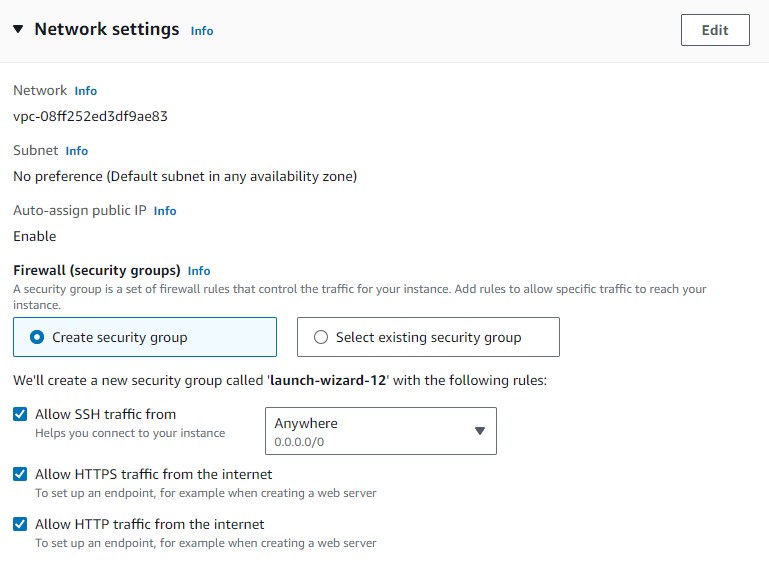
For network settings
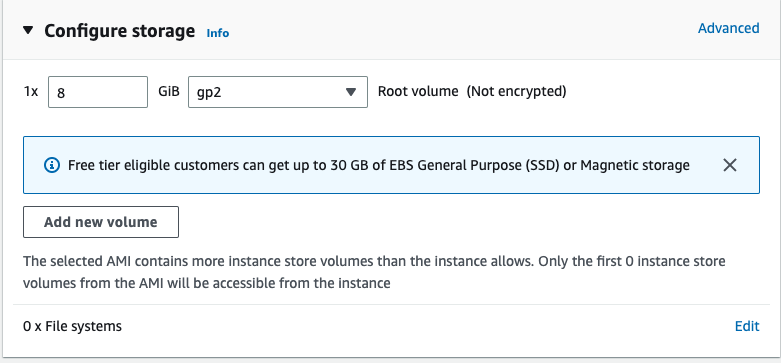
Select how much storage space you want for your instance
Now Click Launch Instance button
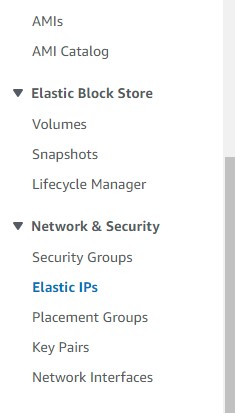
3.Associate Elastic IP addresses
Click on Elastic IP
Then go to Allocate elastic IP to create IP
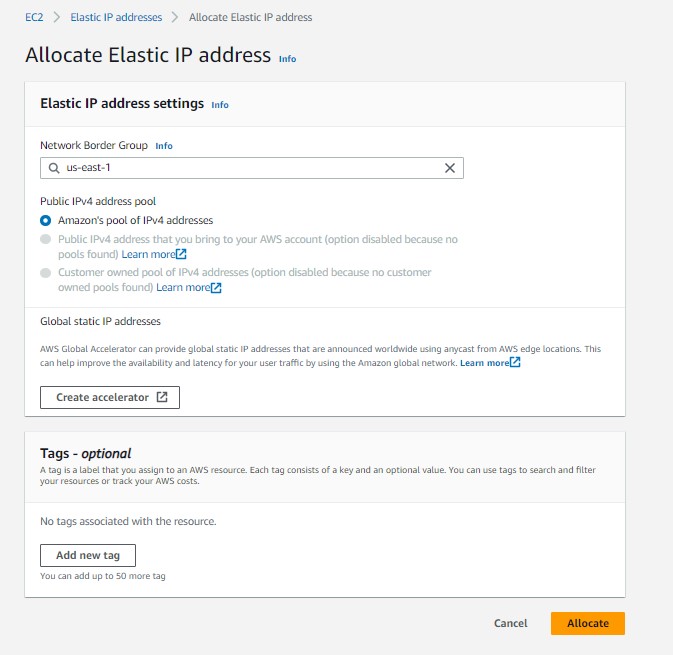
Click on Allocate button to create.
Once you allocate an Elastic IP address next step is to Associate Elastic IP address with you instance
 Now select the instance that you want to associate as shown below
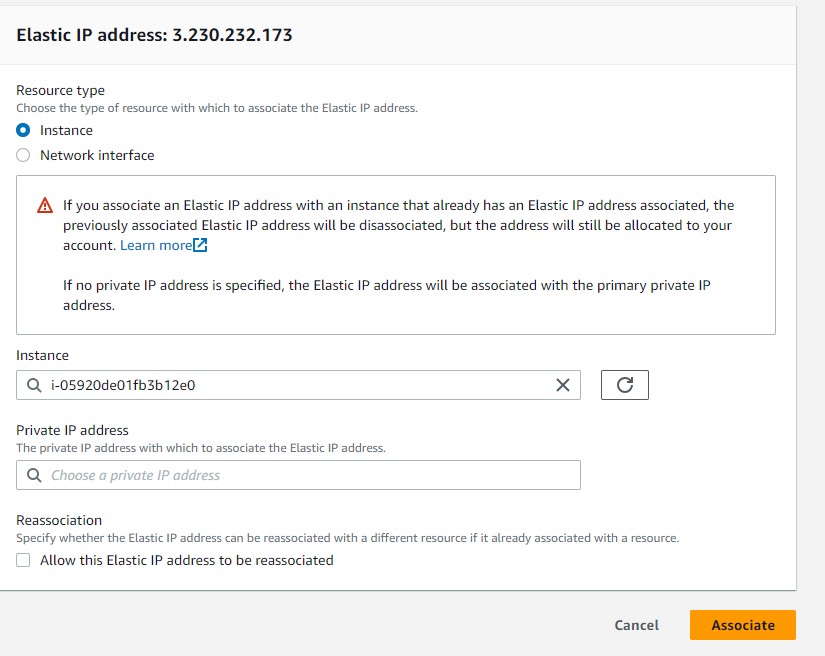
Then you can see the instance is now connected with elastic ip in instance dashboard

4.Connect to Instance
Go to the instance dashboard , select the instance you want to connect and then click on connect button
 then you would seen interface like this
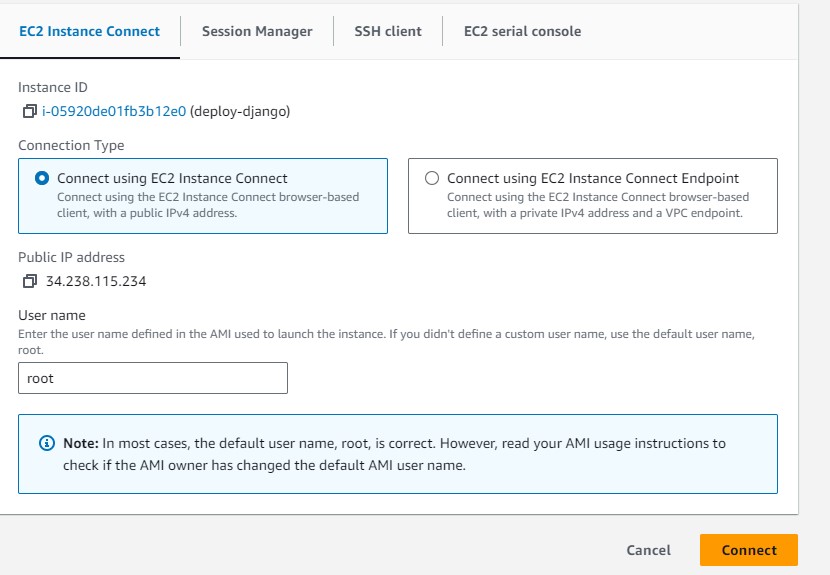 Then click on Connect Button
Then new terminal would be open which is your syateem to host application also. you can open this server in your local computer as well usihn the following mention methods.
Now instance and ip is created now you can connect wit h instance using many ways like
Ways to connect with instance:
i.connect with key-pair
ii. connect with ssh key
iii. connect with Putty
i.connect using putty
you can visit in this site https://www.putty.org/ and download Putty in your system and installed it. remember it also installed Puttygen software , using it you can regenerate the putty key as well. for this open Puttygen software from your computer
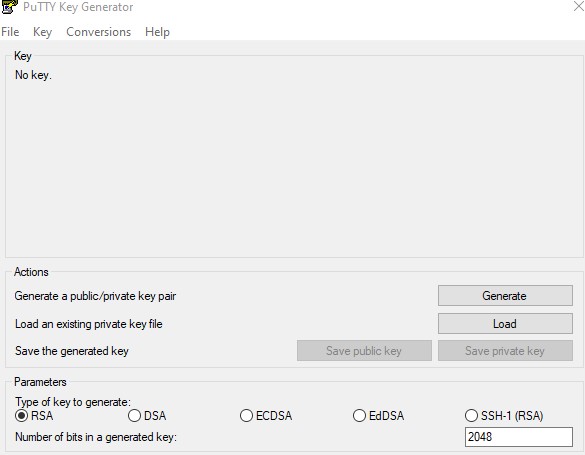
Then click on file --> load private key --> thene you can open any .ppk file and enetr generate new .ppk file for you , which you can used
To connect instance with Putty .
1. Open Puttuy
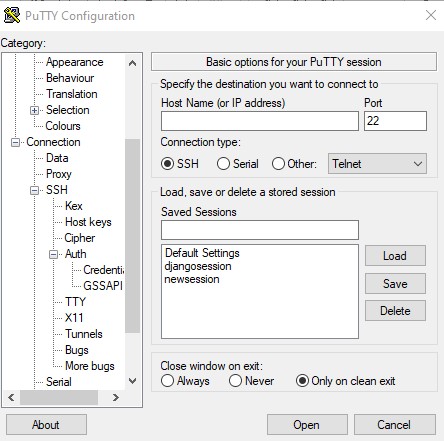
Enter host or id address, then go to Connection-->SSH--->Auth-->Credential then browser the .ppk file in Private key file for authentication section that you downlaod while creating the key-pair for instance.
Note. then you can create session and save it aslo if you don't want to enter .ppk file everytime you opne Putty as well. for that go to seassion then enter one new session name and then saved it . so that next time you can just load it to open server.
then enter open button. it will open terminal with login as: you can enter like root,ubuntu,ec2-user depend on who are you.
you can check it by commadn whoami command as well in terminal
connect with key-pair
run this command:
chmod 400 instance-key.pem

# Connect to your instance using its Public DNS
ssh -i "instance-key.pem" ubuntu@ec2-52-66-135-96.ap-south-1.compute.amazonaws.com
connect with ssh key
In order to connect with your instance using SSH key, you need to add your computer ssh key (id_rsa.pub) to instance authorized_keys.
To generate SSH key to mac Enter the following command in the Terminal window (Don’t do “sudo”)
ssh-keygen -t ed25519 -b 4096 -C "your_email@example.com"

eval "$(ssh-agent -s)"

ssh-add ~/.ssh/id_ed25519
and then
cd ~/.ssh/

cat id_ed25519.pub
Now copy the key and paste it in instance ~/.ssh/authorized_keys file
Now run this command
ssh ubuntu@13.232.8.144
where 13.232.8.144 is Elastic IP
4.Inbound rule
Go to the inbound rule of the instance and then click on edit button

Allow SSH, HTTP, HTTPS traffic and any other port you want to open.
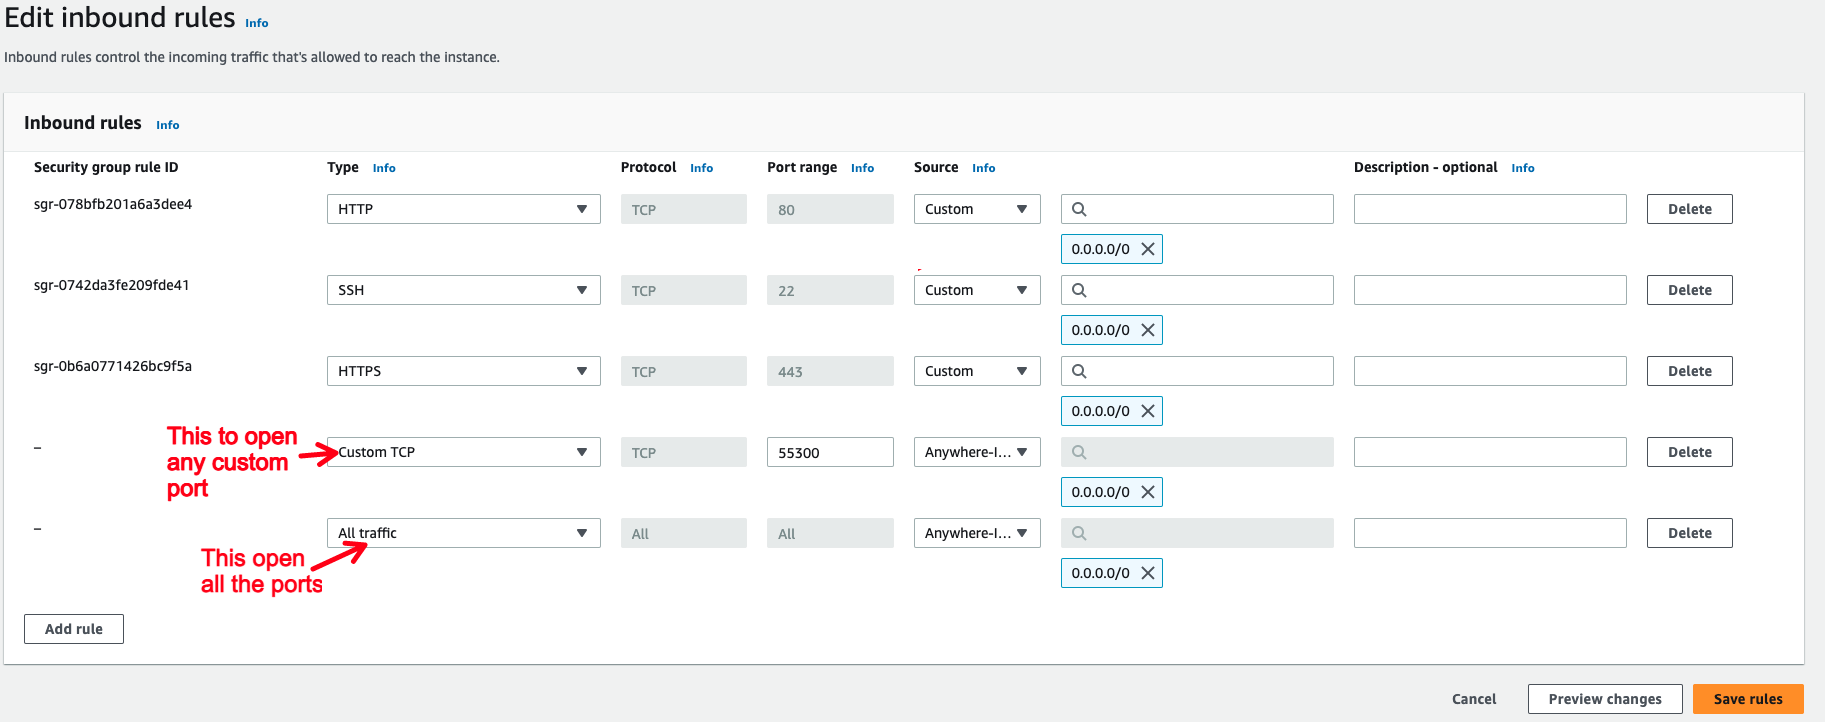
You can also use All traffic to allow all the traffic to instance but it is not recommended.
6.create virtual env in the terminal access you have got it
sudo apt update
sudo apt install virtualenv
virtualenv env_myproject
replace env_myproject with the name you like for you environment
Clone your django project
To clone a project you need to create and add instance SSH key to GIT.
Create instance SSH key run following command (Don’t do “sudo”)
ssh-keygen -t ed25519 -C "your_email@example.com"

eval "$(ssh-agent -s)"

ssh-add ~/.ssh/id_ed25519
Add instance id_ed25519.pub to GIT to clone project.
Or you can simply clone the https: project clone and then setup all the requirements.txt file , database setup, then makemmigrations ,and other needed requirements.
then you can test your systemin your browser by running command like python manage.py runserver 0.0.0.0:800 and run in the browser by ipv4_of_your_instance:8000 port.